
When I started backpacking almost 20 years ago, there were no smartphones. That meant you had to rely on paper maps, physical guidebooks, and (often outdated) information from random web forums. While it made traveling adventurous, it also made planning a trip very difficult.
Fortunately, times have changed.
It’s never been easier to access information while you’re abroad. From booking hotels to looking up directions to finding places to eat, access to Wi-Fi and mobile data has changed the game.
SIM cards were the first step in making this evolution possible. You’d buy an overpriced physical SIM card on arrival and hope that you didn’t blow through the data before your trip ended (or you moved on to a new country).
But even those days are past thanks to eSIMs, digital SIM cards you can set up before you even leave home. They are easy to use, affordable, and sometimes even come with awesome perks (more on that below).
One of the most popular eSIMs on the market? Saily.
In this Saily eSIM review, I’ll break down what Saily offers and how much it costs so that you can decide if it’s the best choice for your next trip.
What is Saily?
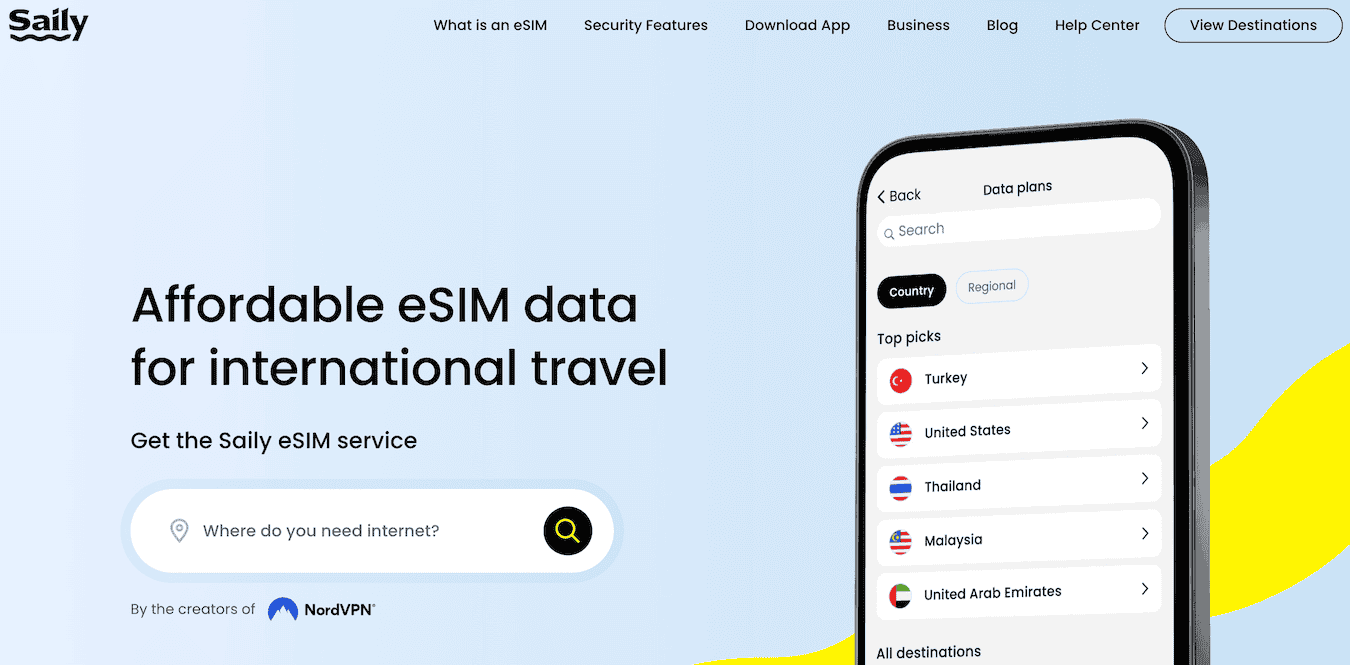
Saily is an eSIM app created by NordVPN. Just like a regular physical SIM card, an eSIM lets you activate and access mobile data while abroad. That means you don’t need to buy a physical SIM card on arrival, you can avoid expensive roaming fees, and you don’t need to use public Wi-Fi (which is often unsafe).
For me, the best part of eSIMs is that you can set them up before you leave. That way, you’ll know exactly how much data you have and can pick out the perfect data plan from the comfort of your home. Saily also has 24/7 chat support, so if you have a question or run into problems you can get the help you need.
And Saily offers plans in over 200 destinations, which means that no matter where you’re heading, they can ensure you stay connected while you’re there.
How to Use a Saily eSIM
While using an eSIM might seem more difficult than just popping in a physical SIM card, it’s actually super easy to get started. Here’s what you need to do:
- Download the app (it’s available on both iOS and Android)
- Create an account and add your payment info
- Select the country you’re going to (or the region)
- Choose your plan
- Follow the prompts provided
That’s it! Now you have an eSIM that activates automatically the moment you land in your destination, saving you the time and energy of having to find one…
Click Here to Read the Full Original Article at Nomadic Matt's Travel Site…